Call Sales: +1 (833) 437-3835
Call Sales: +1 (833) 437-3835
Revel | July 25, 2018 |
With Revel, you can empower your employees and ensure peace of mind by creating and assigning roles and permissions to members of your staff. As the owner, this allows you to specify the access level for each employee down to a granular level.
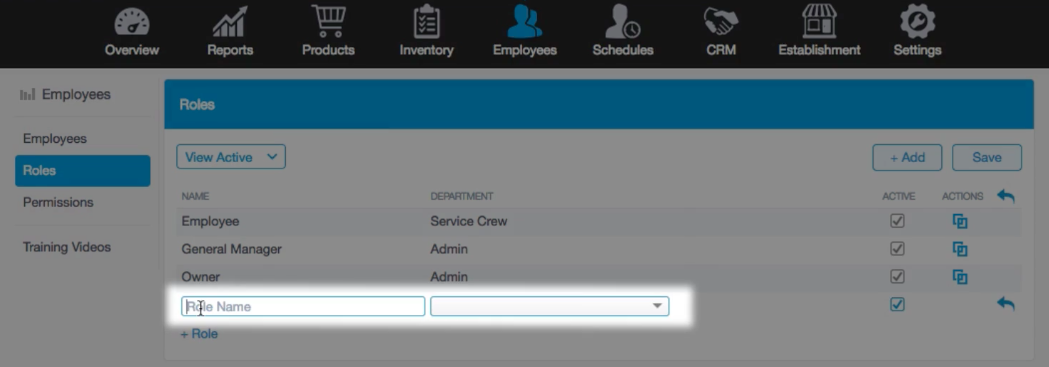
Through the employees' page, click the ‘Roles’ section. Keep in mind your Revel platform will have default roles dependent on your business type. When looking to edit an existing role, click the role name and make any necessary changes. It’s important to always assign employees to active roles so they have access to the POS.
Hired a new staff member? Or created a new position in your business? To add a brand new role, start by clicking the ‘+Role’ button. Enter the name of the Role in the role name field, and then choose the department the role belongs to. Repeat until all the required roles are added. To make these roles functional, add permissions to each role.
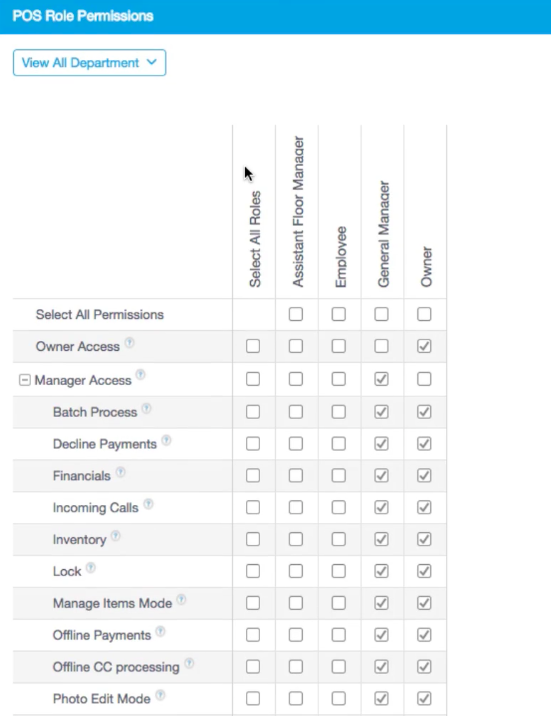
Here is where you can define the access level for each role. To do this, click the Role Permissions sections; here you can choose POS permissions or Management Console permissions.
All of your active roles are displayed across the top of the matrix, and role permissions are displayed in the left column. (By hovering over the question mark you can learn more about each permission.) This includes permissions like batch process, declining payments, incoming calls, inventory, locking the POS, offline payments, and much much more.
From limited access to full management capabilities, manage access levels for each individual or to employees within specific Roles. Check out the video below! For more resources, join us at Revel University.
https://revelsystems-1.wistia.com/medias/4mogoshj8c